


Google Maps in Flutter
Google Maps, we all are quite aware of the fact of how crucial Maps are in our life, from locating a place to locating nearby shops, in our daily commute, taxi, food deliveries. The first thing to observe is how important maps are? and the second thing to observe is that most of the apps these days have maps in them, so Maps in App development are becoming a serious thing from day to day. Now when we are talking about development in Flutter, its a fact that maybe you come across a situation where you want to implement maps in Flutter and the first question after that thought comes is HOW TO IMPLEMENT IT? or WHERE TO START FROM?
In this article, we’ll answer your questions like, maps in Flutter, how to use maps in Flutter, implement google maps in Flutter and will help you from setting it up to creating a small module using Maps in Flutter.
In this article, we’ll be using the Google Maps plugin for Flutter which has been developed by Flutter team themselves.
Where to start from?
Now, that you’re here, you’ll be curious about a particular question, from where you should I start? It’s probably the first thing that comes to our mind whenever we start with anything, isn’t? Don’t worry, we’ll guide you from prerequisite required to displaying the map on your screen and then moving on to what other things can you do using this plugin.
So, Let’s start with setting up your project which will stand as the base on which your map will be displayed.
The setting up process includes two things, namely:
Adding the plugin
1. As you know, we’ll be using the Google Maps Plugin which you can find here. This is the official Google Maps plugin developed by the Flutter team.
2. Add the plugin as the dependency in the pubspec.yaml file, as shown below.
3. Now, get the packages using the flutter packages get command.
https://gist.github.com/Aditsyal/ffc8fca87002172fdbdaaed2648fa4e1
Integrating Google Maps API key
The next step is the last step before you could start coding for the map in Flutter and undoubtedly the important one as this step involves integrating your Google Map API key into your project for both the platforms Android and as well as iOS.
For Android
– Create the Google Maps API key from here
– Add the API key in the AndroidManifest.xml file(android/app/src/main/AndroidManifest.xml).
https://gist.github.com/Aditsyal/ad5491a60fc84918af0492b5a933d657
For iOS
– Create the Google Maps API key from here
– Add the API key in the AppDelegate.m file(iOS/runner/AppDelegate.m).
https://gist.github.com/Aditsyal/e4e9054b84f691ebafd12f67dea1fea9
– Now, add a setting to app’s Info.plist file(iOS/runner/Info.plist).
https://gist.github.com/Aditsyal/eee7d791e44b7ac73b0facc9e7b608a3
If you’ve done everything as said up till now then you’re all set up but there might be some issues regarding the API key setup which we’ll be answering towards the end of the article. Now, you can start using the GoogleMap widget in Flutter.
Using GoogleMap Widget
So, now that you’ve setup your project and we guess all went good, you can display the map using the GoogleMap widget in Flutter.
https://gist.github.com/Aditsyal/e5115389fd70f6d5628c25a25f88a1d0
This snippet of code will help you display the map on your app, just with few lines of code and you get the basic map displayed on the screen, you can scroll it, zoom in, zoom out are the basic gestures by default. Look at the snapshot below to understand.
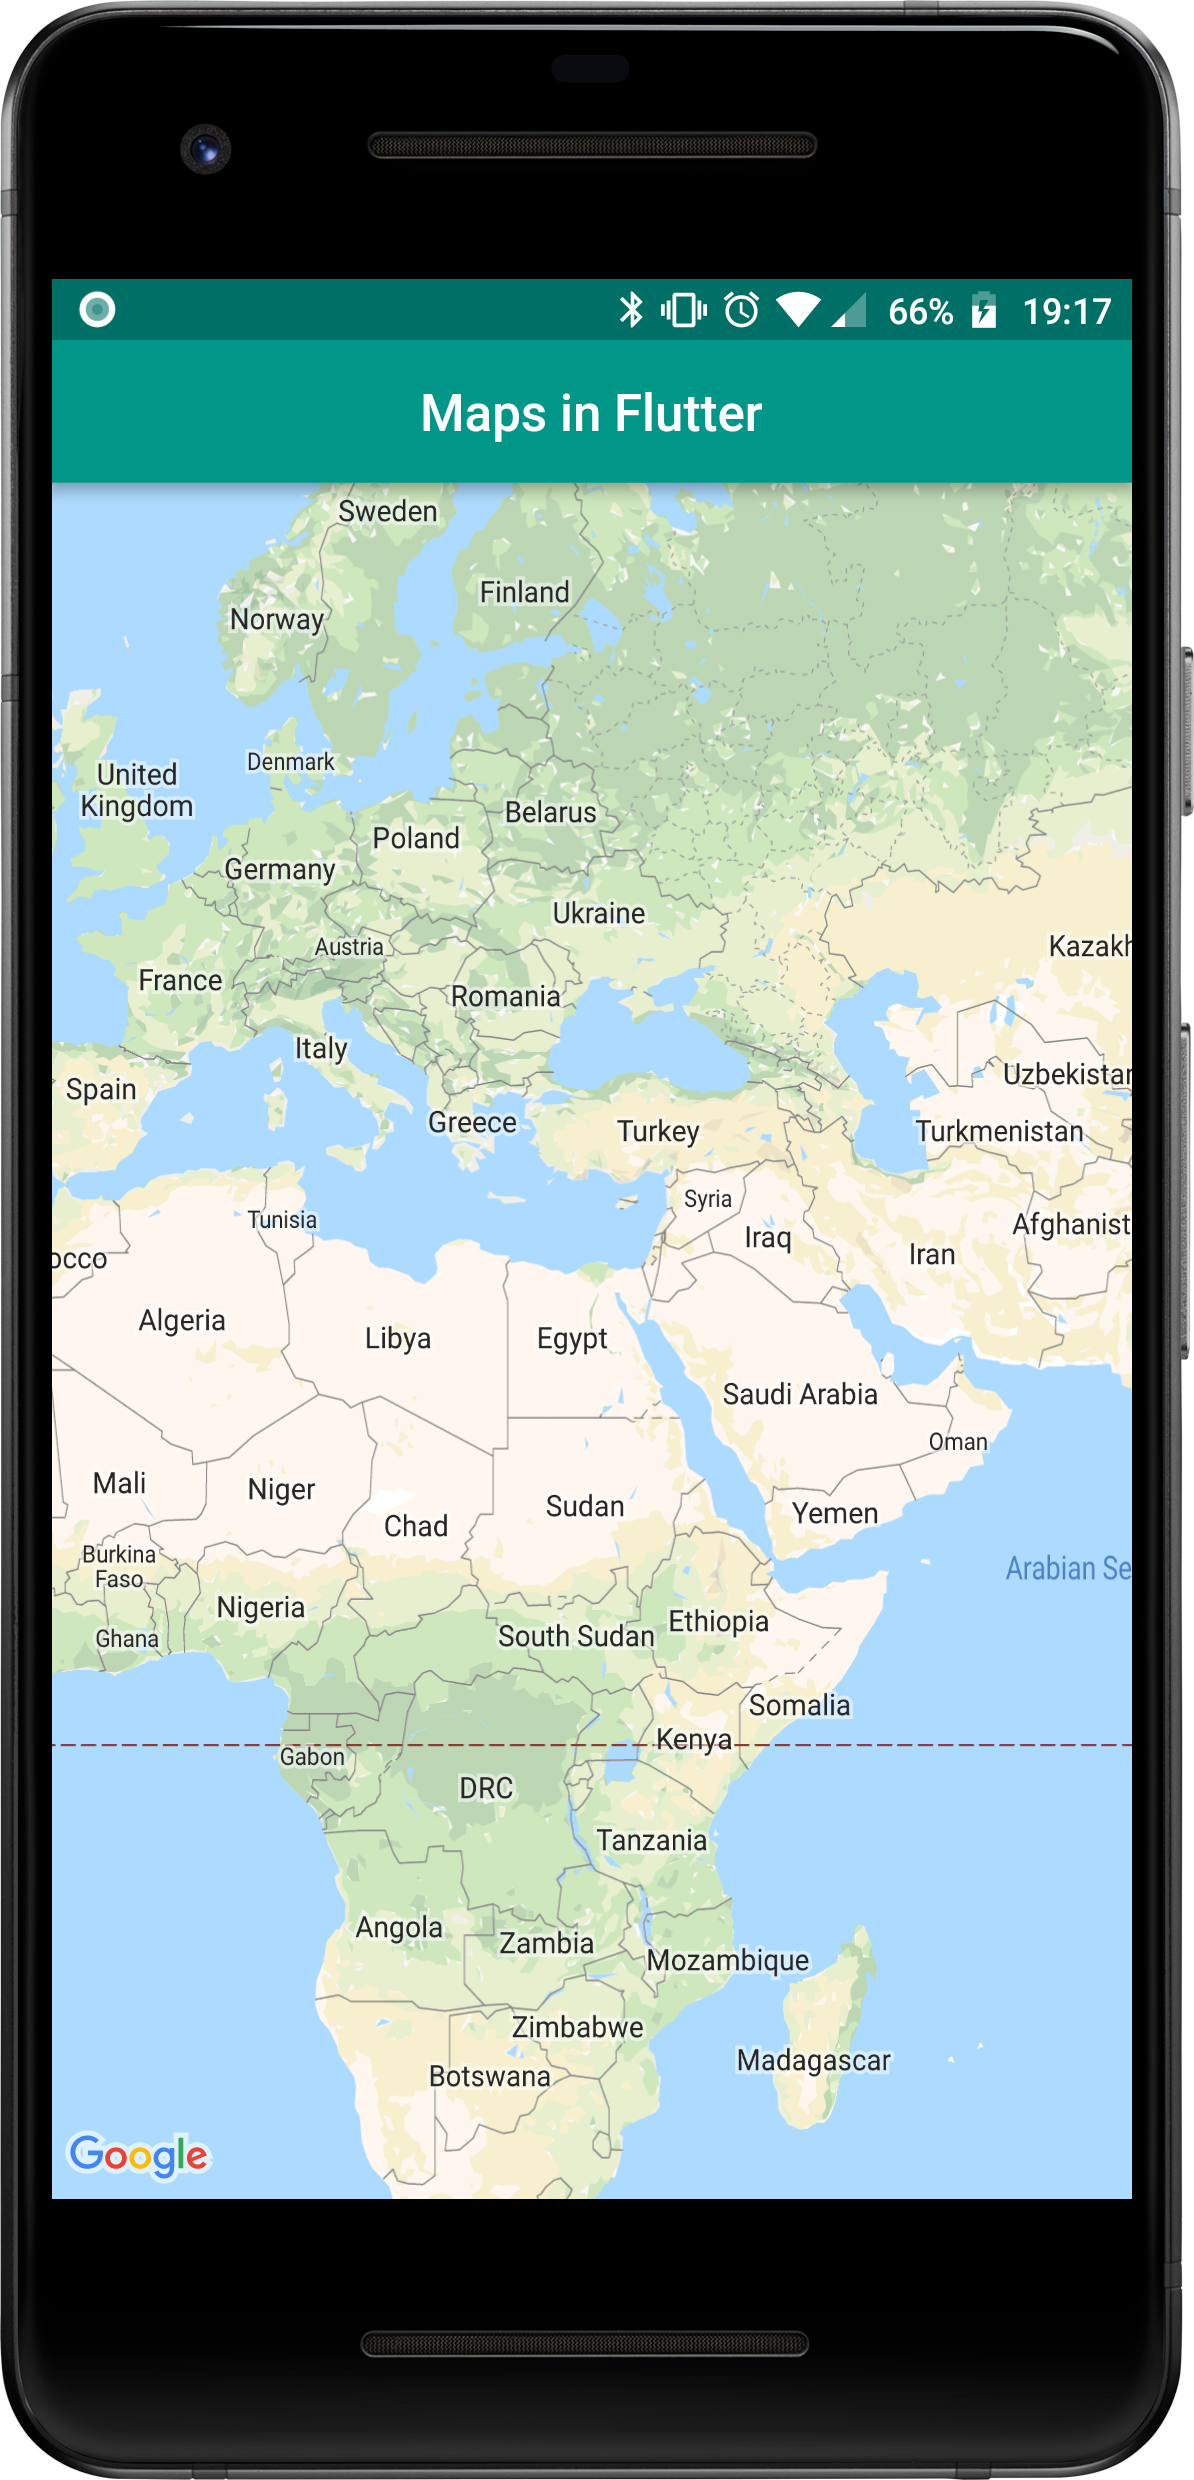
Points to understand from the above snippet:
– initialCameraPosition: This gives the starting position of the map when it is opened for the first time. Here, we gave the Latitude and Longitude of Egypt, using the CameraPosition Widget which takes the LatLng in its target property. The Camera here describes the view of the user i.e what position in the map should the user be able to view.
– GoogleMapController: It’s the controller for a single GoogleMap instance running on the host platform. This controller is like any other controller be it TextEditingController, this manages various functionalities like camera position, zoom, animation, etc.
– onMapCreated: This method is called when the map is created and takes the GoogleMapController as its parameter.
GoogleMap constructor:
Now, that you’re able to display the basic map with least of its functionality we’ll move forward to see what all the functionality does this widget holds as clearly just knowing this won’t be sufficient enough. So, let’s start with getting to know the properties that the GoogleMap widget gives us, here is the constructor of the GoogleMap widget:
https://gist.github.com/Aditsyal/fa2e2d291c74114efc344e5121916afc
This constructor tells us the various parameters that the widget takes, so here we can see the list of functionality that this widget provides using the plugin. We already gave you a brief about the onMapCreated and the initialCameraPosition properties, so we’ll be skipping these and will give you a brief about the remaining others,
1. gestureRecognizers: This property tells us which gestures should be consumed by the map. It is possible for other gesture recognizers to be competing with the map on pointer events, e.g if the map is inside a ListView, the ListView will want to handle vertical drags. The map will claim gestures that are recognized by any of the recognizers on this list. When this set is empty or null, the map will only handle pointer events for gestures that were not claimed by any other gesture recognizer.
2. compassEnabled: This property tells us if the map should show a compass when rotated. By default, the value is set to true.
3. cameraTargetBounds: This property tells us the bounds for the map camera target. It is used with GoogleMapOptions to wrap a LatLngBounds value. This allows distinguishing between specifying an unbounded target from not specifying anything.
4. mapType: This property tells us about the type of Map tiles to display. There are five types of tiles
– none: Do not display map tiles.
– normal: Normal tiles with traffic, labels and subtle terrain information.
– satellite: Satellite imaging tiles (aerial photos).
– terrain: Terrain tiles (indicates type and height of terrain).
– hybrid: Hybrid tiles (satellite images with some labels/overlays)
5. minMaxZoomPreference: This property tells us Preferred bounds for map camera zoom level. It’s used with GoogleMapOptions to wrap min and max zoom.
6. rotateGesturesEnabled, scrollGesturesEnabled, zoomGesturesEnabled, tiltGesturesEnabled: These fours properties are responsible for the respective gestures on the map like, rotate, scroll, zoom and tilt.
7. myLocationEnabled: This property tells us whether “My Location” layer should be shown on the map. This layer includes a location indicator at the current device location, as well as a My Location button.
Exploring the GoogleMap Widget:
We got the basic map displayed and we got to know what functionality it can have, let us explore some of the functionality practically here:
Device Location:
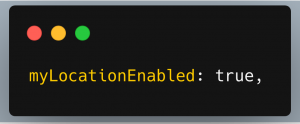
Let’s start by displaying the user’s location on the map. In the properties above, we came across a property called myLocationEnabled, this property is responsible to display the user’s location on the map.
1. Set the value of myLocationEnabled to true.
2. Add location permission to both native platforms of your app.
– On Android, add either
<uses-permission android:name=”android.permission.ACCESS_FINE_LOCATION” /> or
<uses-permission android:name=”android.permission.ACCESS_COARSE_LOCATION” /> to your AndroidManifest.xml file. ACCESS_COARSE_LOCATION returns a location with an accuracy approximately equivalent to a city block, while ACCESS_FINE_LOCATION returns as precise a location as possible, although it consumes more battery power.
– On iOS, add a “NSLocationWhenInUseUsageDescription” key to your Info.plist file. This will automatically prompt the user for permissions when the map tries to turn on the My Location layer.
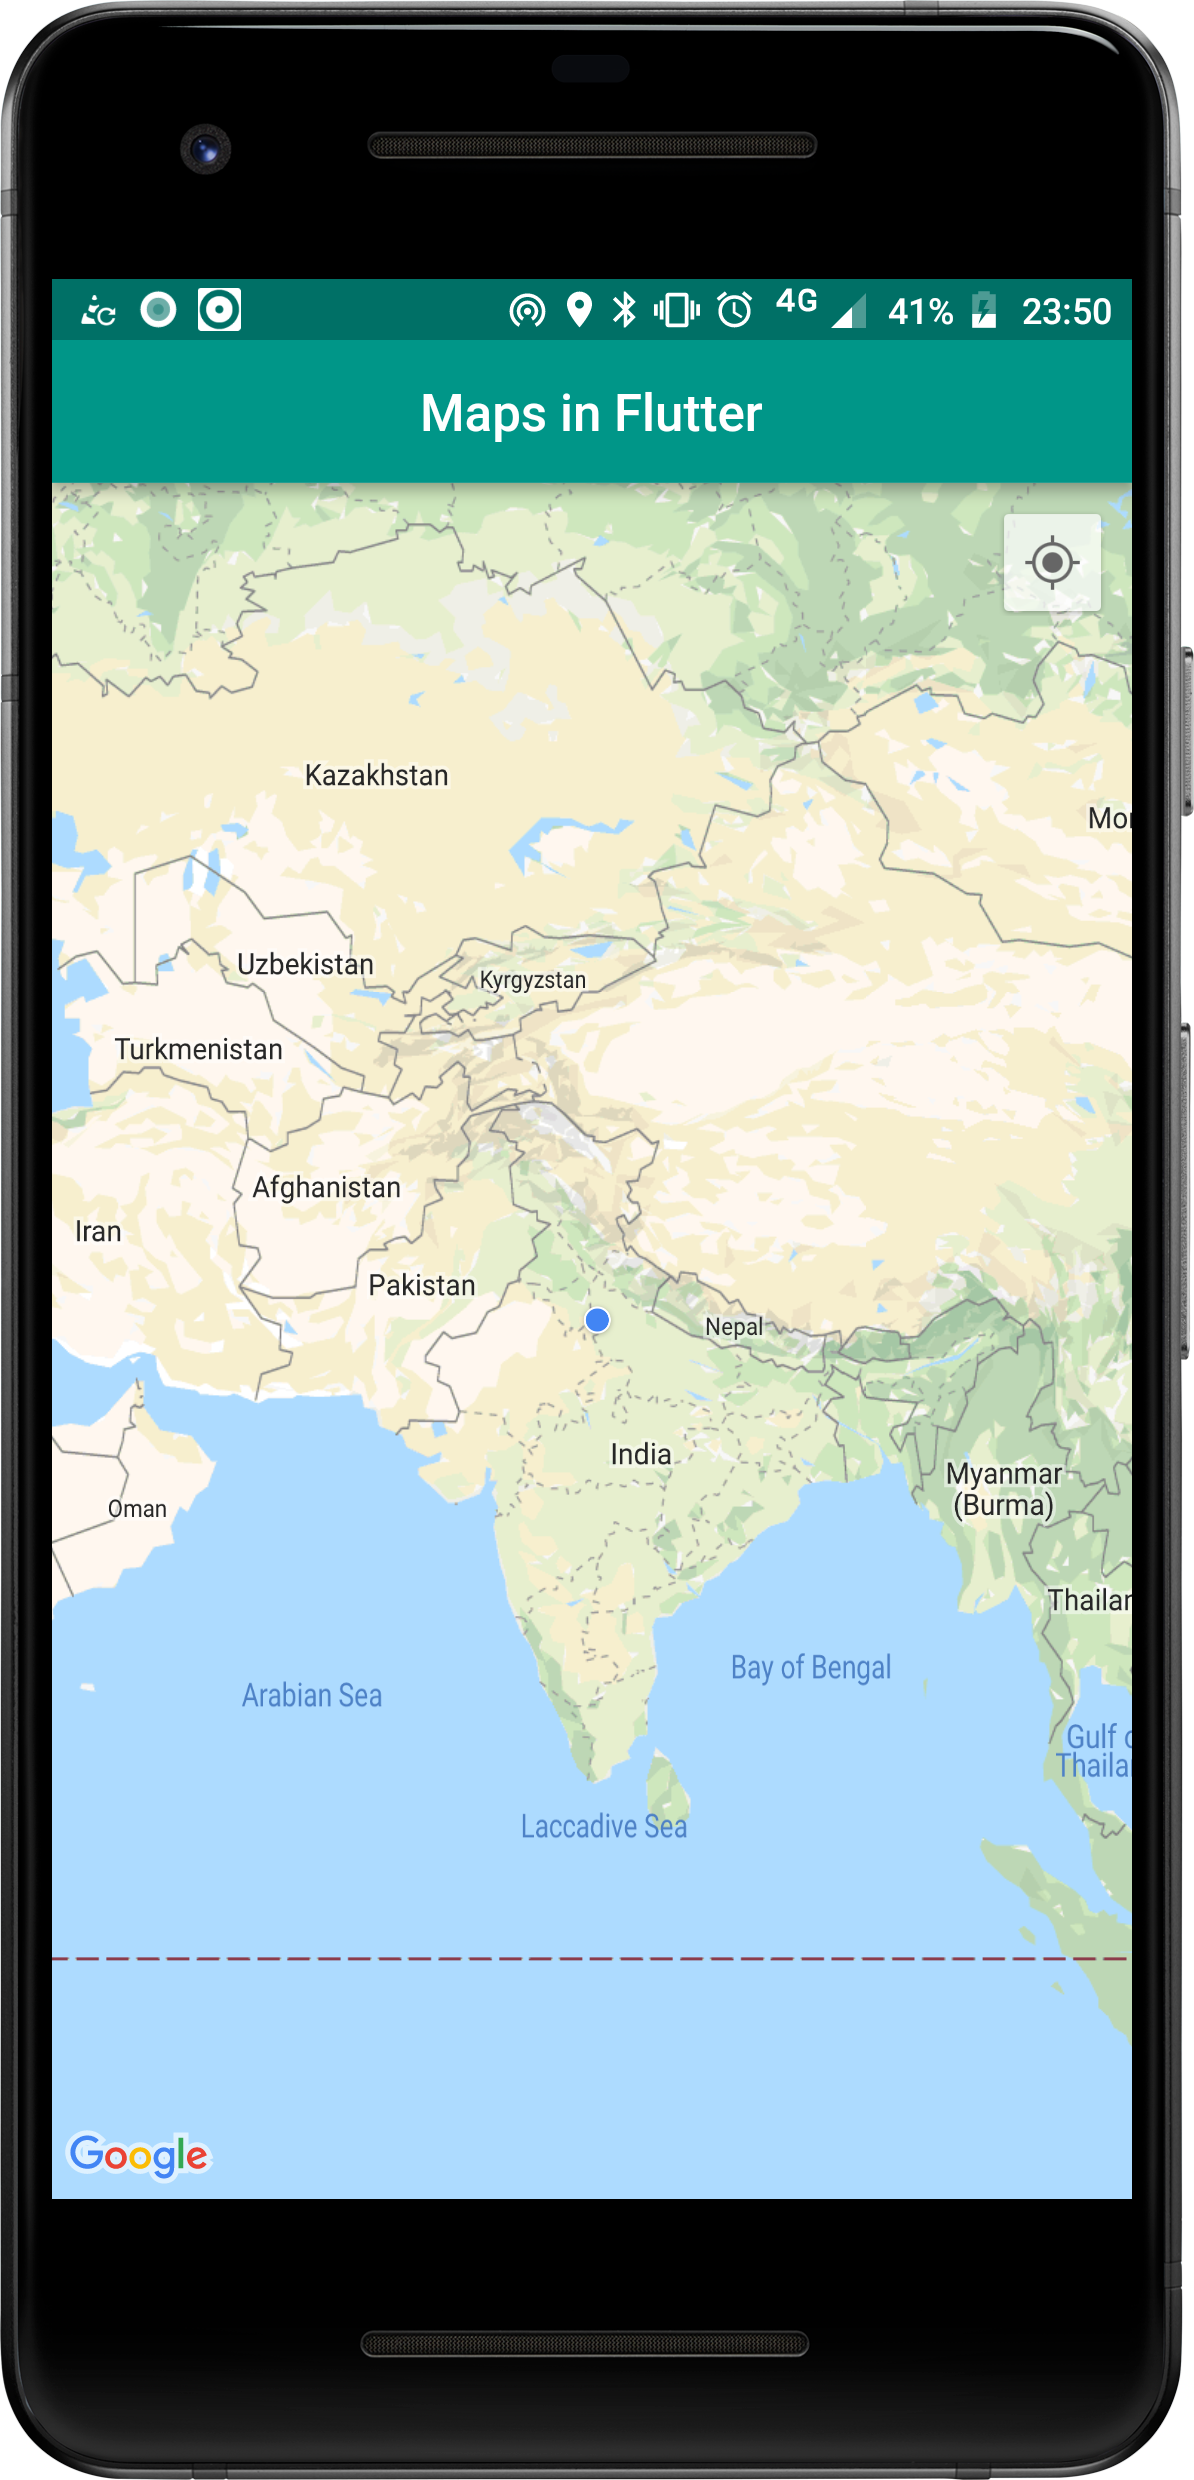
So, by writing a few lines of code to set permissions on the native platforms and by setting myLocationEnabled property to true we get the user’s current location.
Changing MapType:
You can change the type of Map by using the mapType property of GoogleMap Widget and can set to any type, satellite, terrain, hybrid or normal.
We also created a tap to switch the mapType using a floatingActionButton, as we know GoogleMap is just like any another widget in Flutter so that means we can use the Map inside other widgets, so we placed the GoogleMap widget inside the Stack and added a floatingActionButton and gave it the functionality to switch the map between the normal and satellite, follow the code snippet to know more,
https://gist.github.com/Aditsyal/6e50ae85d1d1a99749a128ca10096c53
Enable and Disable Gestures:
GoogleMap widget has gestures property in it, namely rotateGesturesEnabled, scrollGesturesEnabled, zoomGesturesEnabled, tiltGesturesEnabled:
https://gist.github.com/Aditsyal/cd5e487cff3e2d7f53463b852f66ef0a
Moving the Camera around:
Now, let’s try to move the camera to a specified Latitude and Longitude, for that we use the animateCamera method which animates the change of map position. It takes the CameraUpdate as it’s parameter which has various features in itself.
There’re certain ways of moving the camera around with respective functionality of their own. Feel free to use them as required by you. Here we gonna use newLatLngZoom(LatLng latLng, double zoom) to move the camera to a specified location using a certain level of zoom.
We created a method _goToNewYork in which we used the animateCamera method to animate the camera move on the basis of latitude and longitude of NewYork with a zoom of 10. Then we created a drawer using the drawer property of Scaffold to display it. Let us show you the code snippet,
https://gist.github.com/Aditsyal/59205c109ded25f043478d83ab839c0f
So, we can see the animated movement of the camera from one location to another using the latitude and longitude. We created a bunch of other location and put them in the drawer for you to try move to different location. The GitHub link of the module will be provided in the end.
Set the Marker on the map:
Now that we’re able to move the camera around on the basis of specific latitude and longitude, we’ll try to put the marker on the location we move our camera. Let’s suppose you want to move to New York, so when the camera moves to new york you can see a marker set on the particular location.
To achieve this we’ll use the markers property of GoogleMap widget which takes a set of marker.
https://gist.github.com/Aditsyal/0f0297594e3ff63912113a6b2dbfac5f
Now we want the marker to be set as the user moves to the specified location, so we created a marker inside the _goToNewYork method inside the setState() method.
https://gist.github.com/Aditsyal/7d0f293521d085e8e9a6cb32fc79dd21
Marker marks a geographical location on the map. Here, the markerId is the unique id of each marker and position property takes the LatLng of the location. This gives us
Now, let’s add some information on the marker so that when it’s tapped the information is displayed. For this we’ll use the infoWindow property of the Marker widget which gives us a title, snippet, to give the title to the marker and desc to the marker.
https://gist.github.com/Aditsyal/d6709ecb54efa5bd2e227a270c7c5120
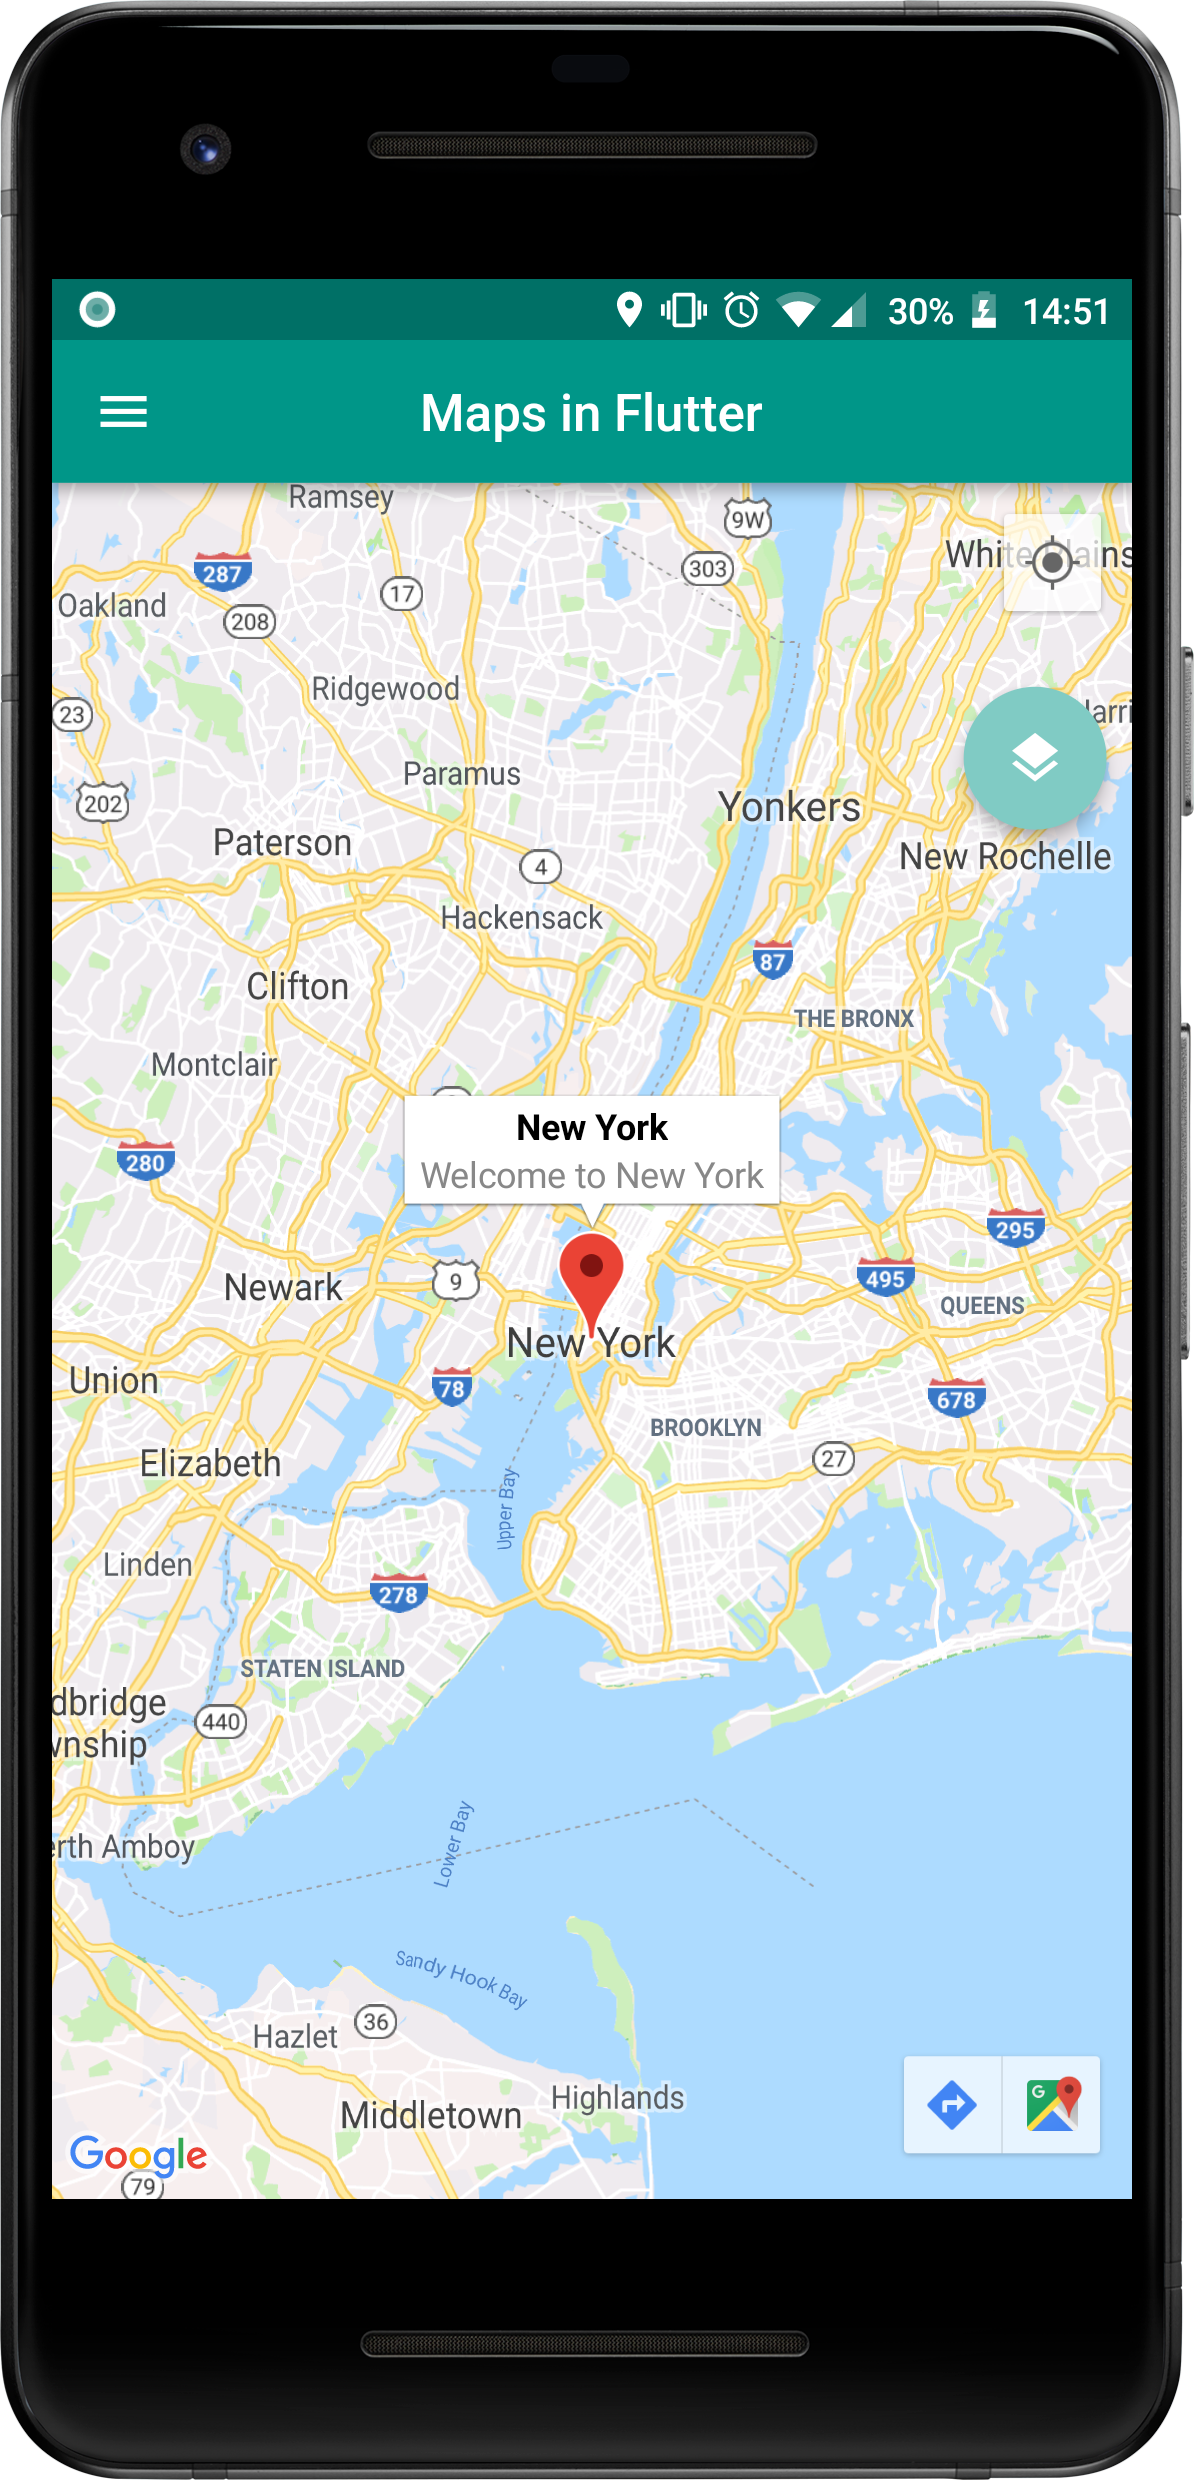
Now that we added the marker on the map at our desired location using the latitude and longitude of the place and also gave the marker some text to be displayed when tapped. We just showed the implementation of how to do it, know it totally depends on you how to use it and how to implement it. You can find the complete module on github.
Conclusion:
GoogleMap widget is just like any other widget in Flutter that means this widget can be placed inside any other widget, like Listview, Stack, Column, Row, Container and so on, you can even transform it, clip it but we know why would someone clip it we’re just telling you that you can perform anything on the map as its a widget. So be creative, explore more and even let us know of something you come across.
Do let us know how was the article and wish we could cover everything in the article, every feature but that would just mean writing a book and that’s not what you want and what we want. We tried to explain from the root from how to install it, to some basic feature which you might require in regular use if you’re using map.
So, give us your feedback.
And read more articles from FlutterDevs.com
FlutterDevs team of Flutter developers to build high-quality and functionally-rich apps. Hire flutter developer for your cross-platform Flutter mobile app project on hourly or full-time basis as per your requirement! You can connect with us on Facebook and Twitter for any flutter related queries.
Post a Comment
You must be logged in to post a comment.
Cathern
December 6, 2020I am not sure the place you are getting your info, however good
topic. I needs to spend some time finding out much more or figuring out more.
Thank you for magnificent information I was looking for this information for my mission.