Video Calling In Flutter
Flutter is a cross-platform development framework made by Google to permit a single codebase for the two iOS and Android applications. In every case, it’s better to communicate vis-à-vis as opposed to a textual discussion; it has an amazing effect on the subsequent individual. Likewise, present-day applications are additionally developing by making next edge highlights like having an ever-increasing number of approaches to allow users to associate with one another.
Mobile applications are currently evolved with an incorporated voice or video calling office, which empowers clients to cooperate without any problem. Allowing users to choose their method of communication holds more user base for any application.
Inthis article, we will explore the Video Calling In Flutter. We will also implement a demo and use the agora to make a video call using the agora_rtc_engine package in your flutter applications.
agora_rtc_engine | Flutter Package
中文 This Flutter plugin is a wrapper for Agora Video SDK. Agora.io provides building blocks for you to add real-time…
pub. dev
Table Of Contents::
Introduction
Setup
Implementation
Device Permission
Code Implement
Code File
Conclusion
Introduction:
Real-time video talking drenches individuals in the sights and hints of human associations, keeping them occupied with your application longer. Bring significant distance minutes into the center with live video calls.
Agora’s Video Call can upgrade social applications with fun highlights like AR facial masks and audio cues. In contrast, business and instruction applications can profit by screen sharing, whiteboards, and that’s just the beginning. This model tells the best way to build a straightforward video calling application utilizing Agora, including:
- > Join/leave a channel
- > Mute/unmute
- > Switch camera
- > Layout multiple video views
Demo Module ::


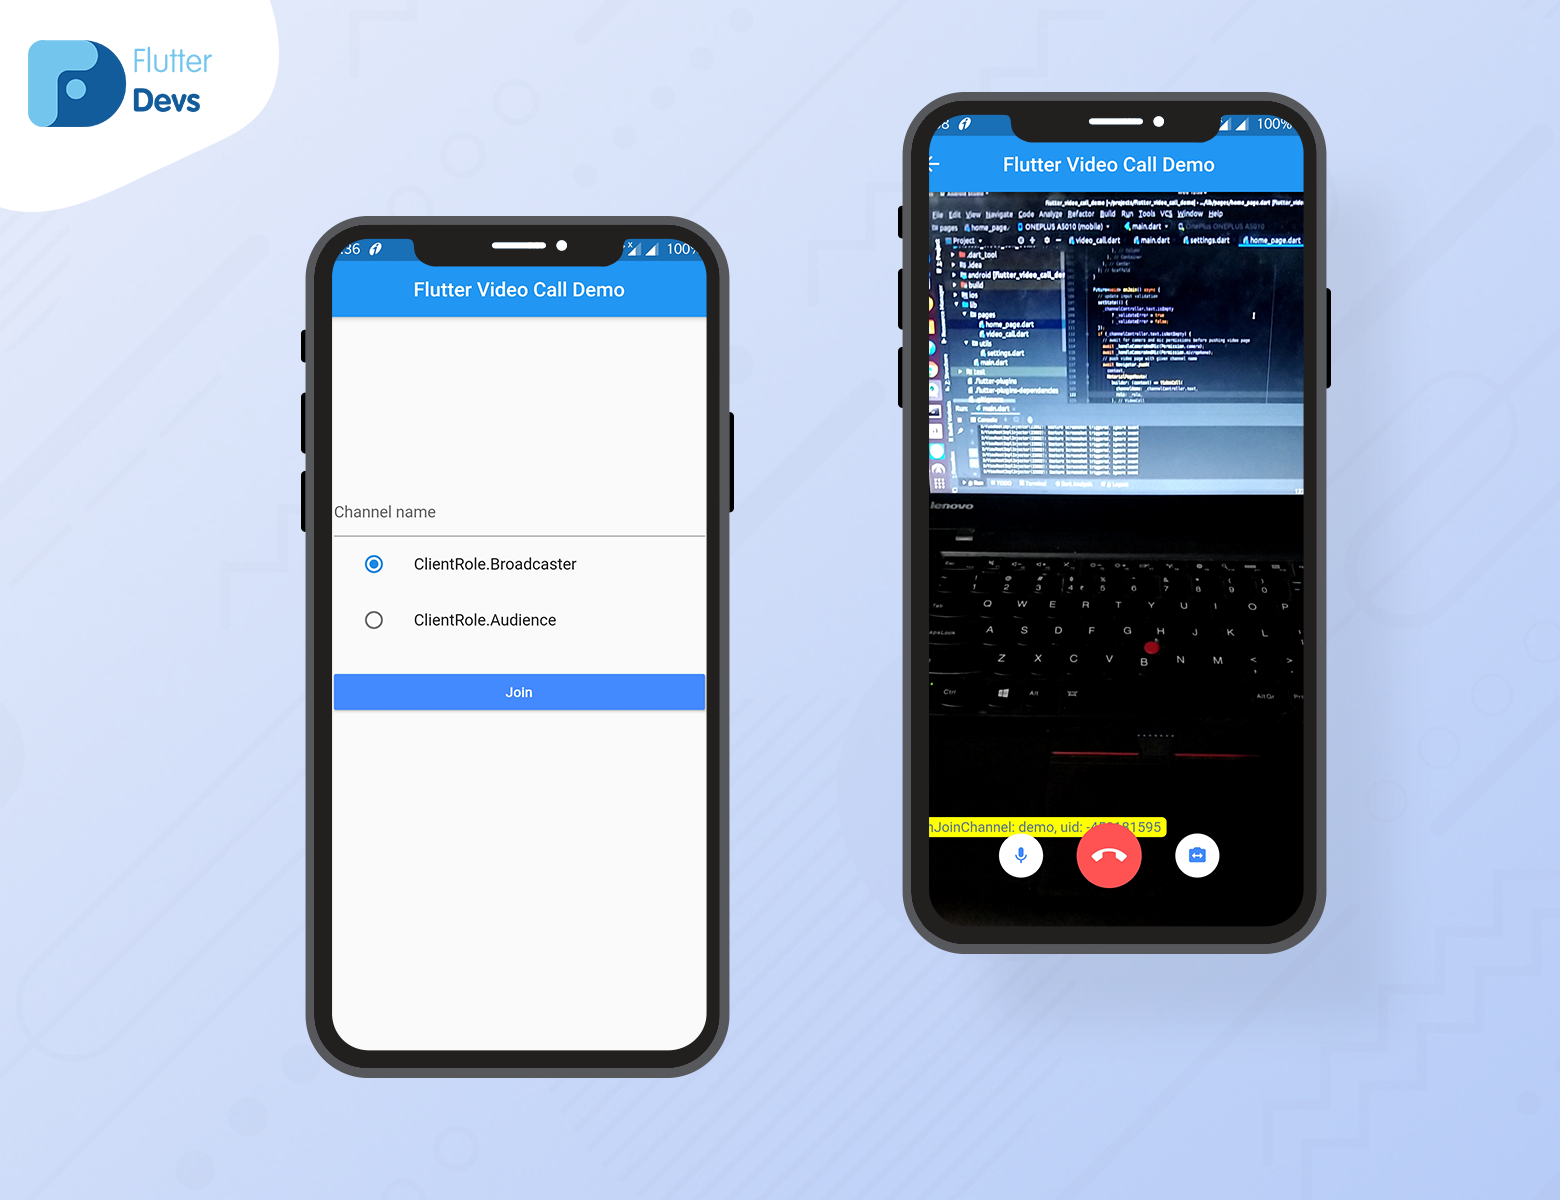

In this screenshot of the demo, first is the home page, and the other is the video calling page using Agora in your flutter applications.
Setup:
- Clone the Agora-Flutter-Quickstart. The Agora Flutter Quickstart is open-sourced and available on GitHub.
- Create an account on Agora.


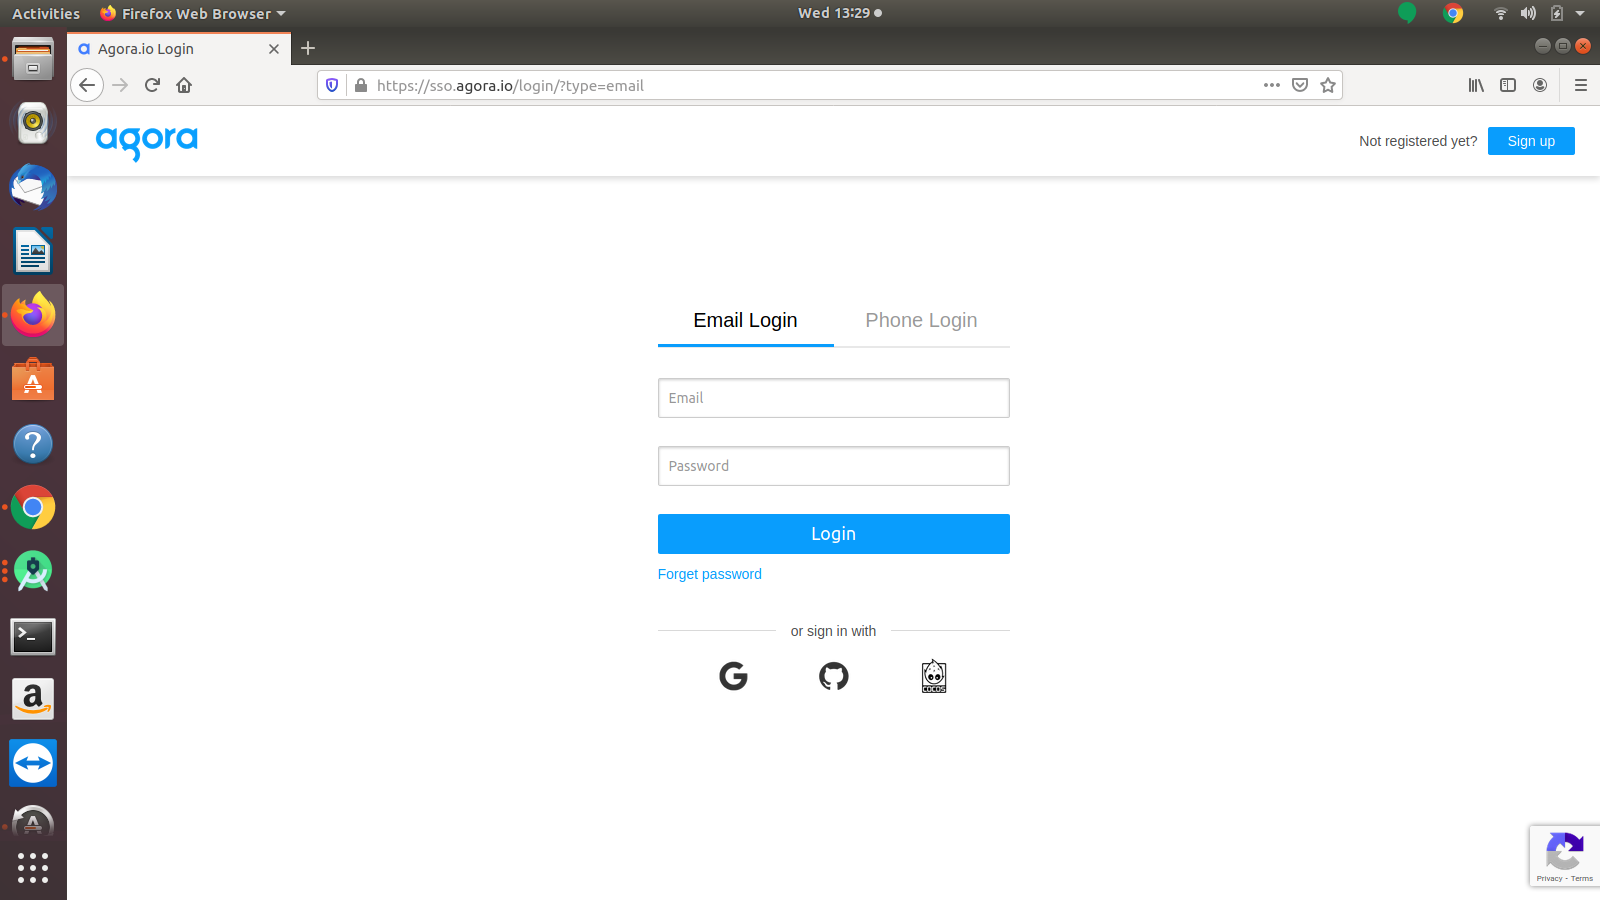

3. After completing the registration process, you will be redirected to the dashboard page.


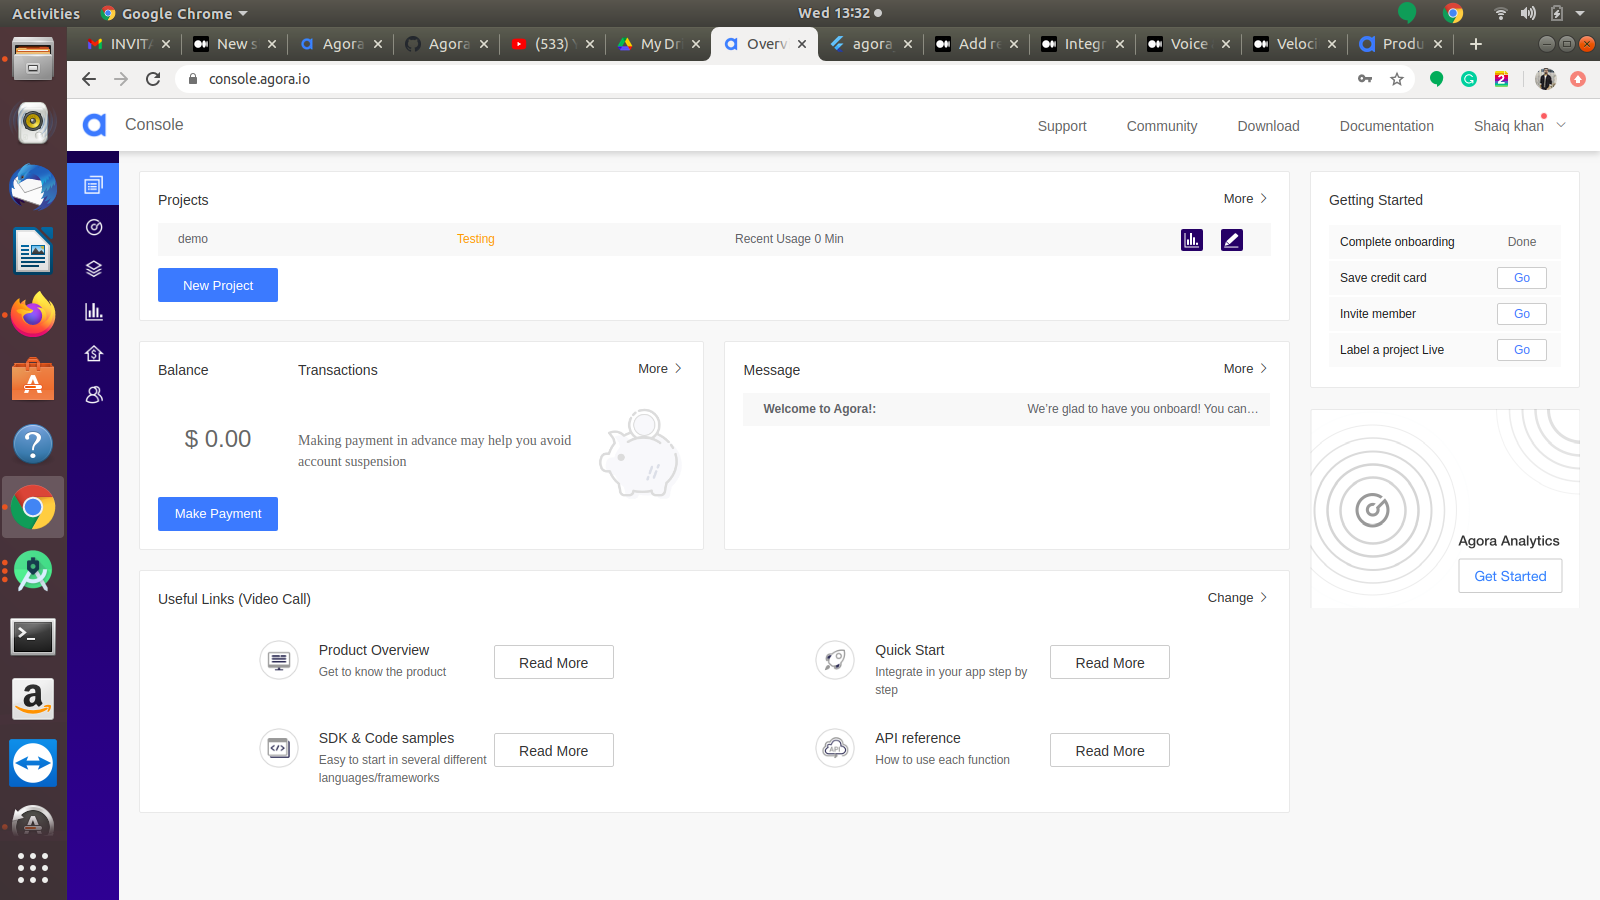

4. Navigate to Projects > Project List within the dashboard tree on the left.
5. Copy the App ID to your clipboard.



Implementation:
Step 1: Add the dependencies
Add dependencies to pubspec — yaml file.
dependencies:
agora_rtc_engine: ^3.1.3
permission_handler: ^5.0.1
Step 2: Import
import 'package:agora_rtc_engine/rtc_engine.dart';
import 'package:permission_handler/permission_handler.dart';
Step 3: Run flutter packages get in the root directory of your app.
Step 4: Enable AndriodX
Add this to your grade.properties file:
org.gradle.jvmargs=-Xmx1536M
android.enableR8=true
android.useAndroidX=true
android.enableJetifier=true
Device Permission:
For Andriod:
Open the AndroidManifest.xml file and add the required device permissions to the file.
<uses-permission android:name="android.permission.READ_PHONE_STATE"/>
<uses-permission android:name="android.permission.INTERNET" />
<uses-permission android:name="android.permission.RECORD_AUDIO" />
<uses-permission android:name="android.permission.CAMERA" />
<uses-permission android:name="android.permission.MODIFY_AUDIO_SETTINGS" />
<uses-permission android:name="android.permission.ACCESS_NETWORK_STATE" />

<!-- The Agora SDK requires Bluetooth permissions in case users are using Bluetooth devices.-->
<uses-permission android:name="android.permission.BLUETOOTH" />
For Ios:
Open the info. plist and add:
- Privacy — Microphone Usage Description, and add a note in the Value column.
- Privacy — Camera Usage Description, and add a note in the Value column.
How to implement code in dart file :
You need to implement it in your code respectively:
const APP_ID = Your App_ID
const Token = Your Token
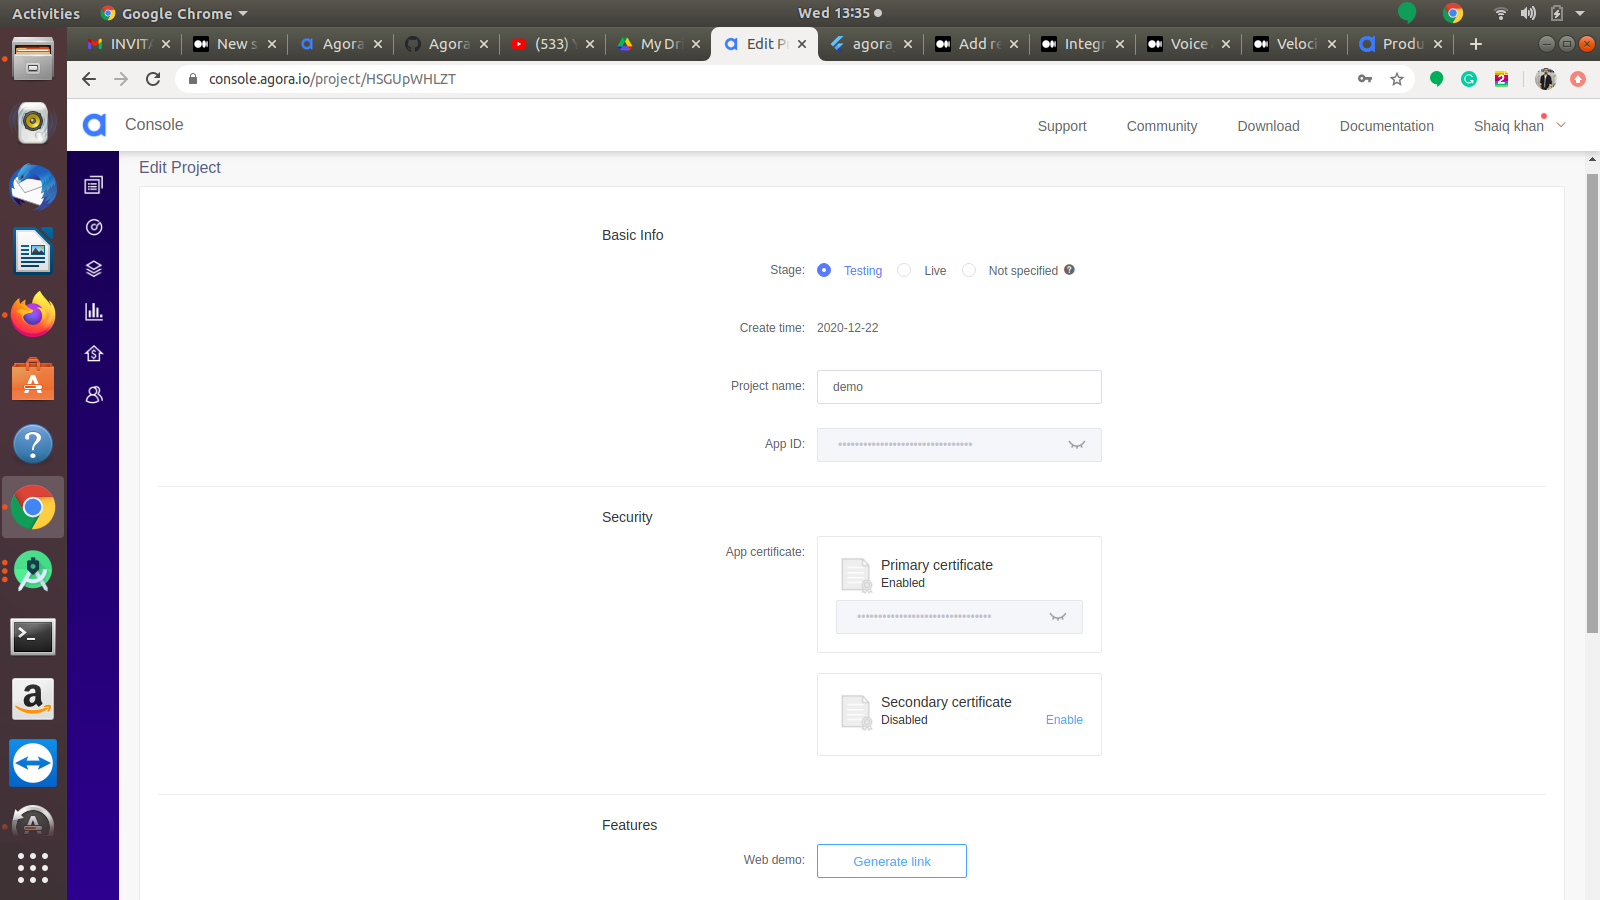
You will add your app id from the agora dashboard and copy the App ID to your clipboard. Yow will generate a temporary token from the agora console page, and in other options, you will use the primary certificate key to copy and paste on the token.
Create a new dart file called
home_page.dartinside thelibfolder.
Row(
  children: <Widget>[
    Expanded(
        child: TextField(
      controller: _channelController,
      decoration: InputDecoration(
        errorText:
            _validateError ? 'Channel name is mandatory' : null,
        border: UnderlineInputBorder(
          borderSide: BorderSide(width: 1),
        ),
        hintText: 'Channel name',
      ),
    ))
  ],
),
We will create a text field for the channel name; without add any name, they will show an error and not navigate to another page.
Now, we will make a button:
Padding(
  padding: const EdgeInsets.symmetric(vertical: 20),
  child: Row(
    children: <Widget>[
      Expanded(
        child: RaisedButton(
          onPressed: onJoin,
          child: Text('Join'),
          color: Colors.blueAccent,
          textColor: Colors.white,
        ),
      )
    ],
  ),
)
We will create a RaisedButton method. In this method, we will onJoin function. We will describe the function below:
Future<void> onJoin() async {
  setState(() {
    _channelController.text.isEmpty
        ? _validateError = true
        : _validateError = false;
  });
  if (_channelController.text.isNotEmpty) {
    await _handleCameraAndMic(Permission.camera);
    await _handleCameraAndMic(Permission.microphone);
    await Navigator.push(
      context,
      MaterialPageRoute(
        builder: (context) => VideoCall(
          channelName: _channelController.text,
          role: _role,
        ),
      ),
    );
  }
}
In this Function, we will add a camera and mic permission for users. Anyone user can mic off/on, and camera switch front/back.
That’s it. You’ve successfully integrated the video calling in a flutter. When we run the application, we ought to get the screen’s output like the underneath video capture.
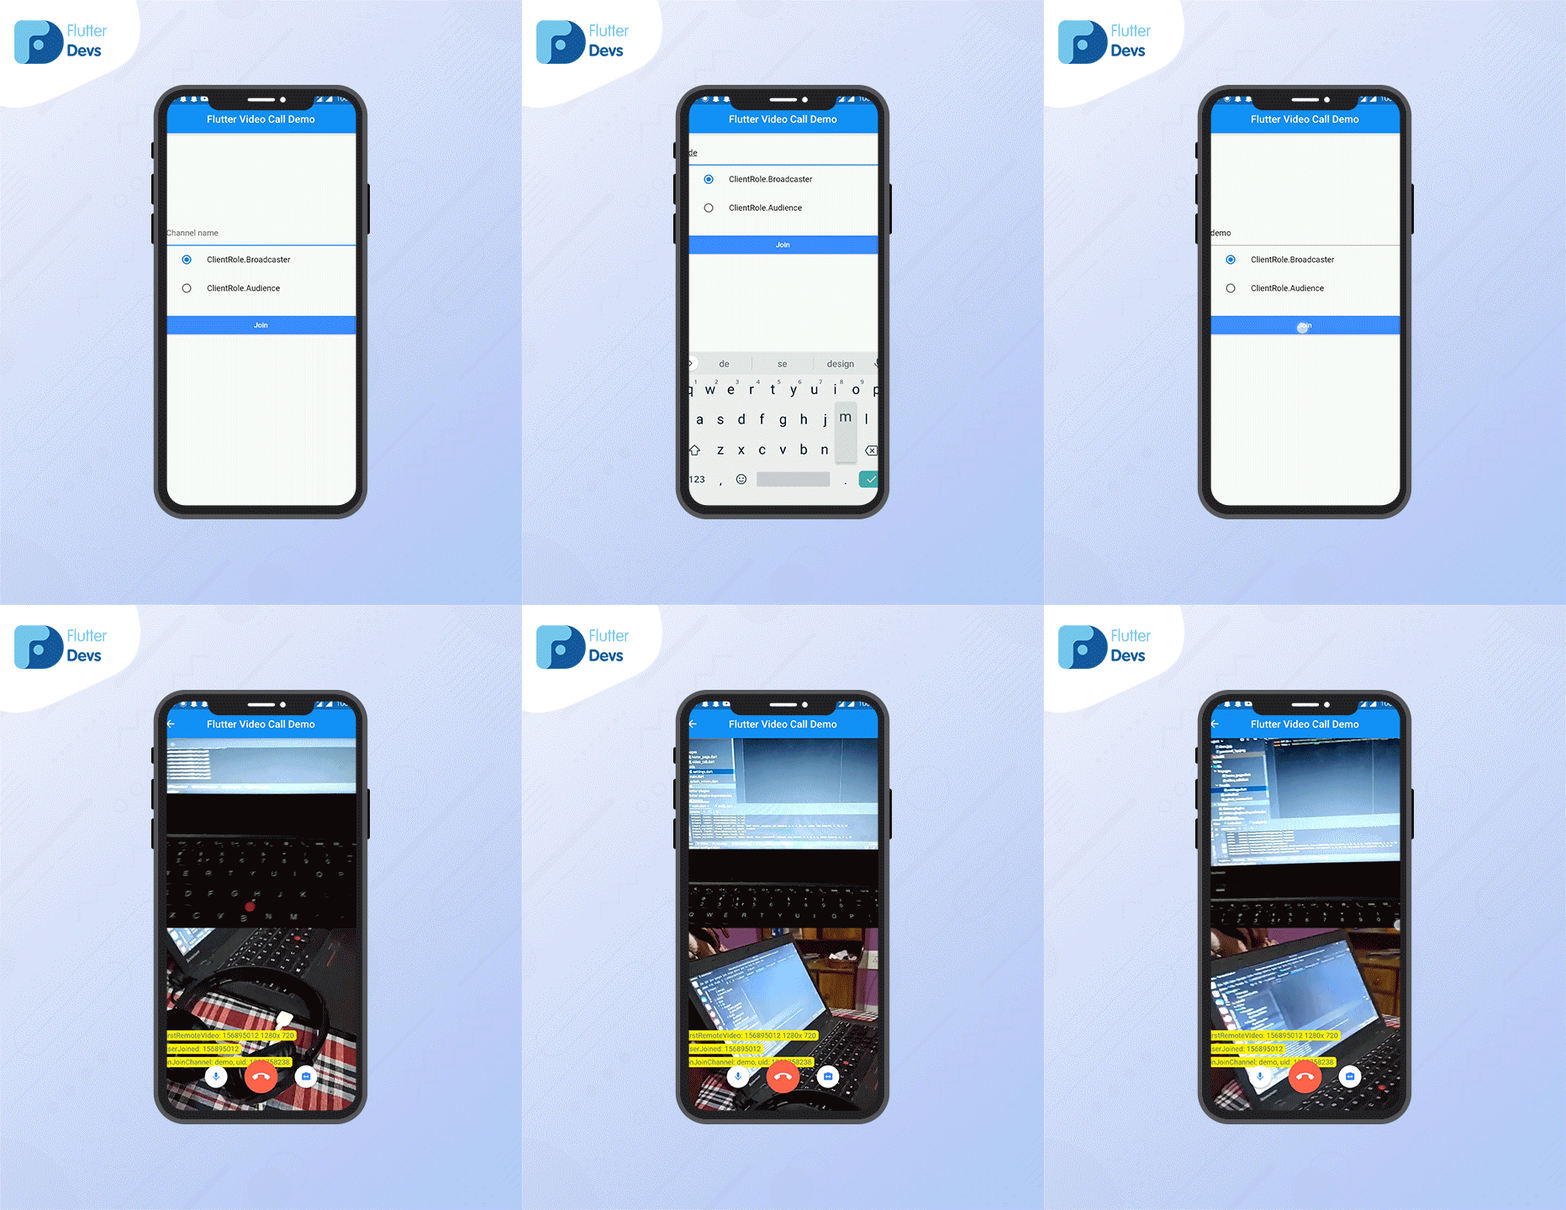


When you run your application, you will see a screen requesting a channel name. Enter a random channel name that you need to make. Afterward, another device running a similar application joins the channel by entering a similar channel name. You will find that your video calling is great, and you are presently a video call with different devices.
Code File:
Conclusion:
In the article, I have explained Video Calling in a flutter; you can modify this code according to your choice. This was a small introduction to Video Calling Using Agora On User Interaction from my side, and it’s working using Flutter.
I hope this blog will provide you with sufficient information in Trying up Video Calling in your flutter projects. We will show you the agora is?, set it up in our project, and work on a video calling using agora in your flutter applications, So please try it.
❤ ❤ Thanks for reading this article ❤❤
Post a Comment
You must be logged in to post a comment.


